
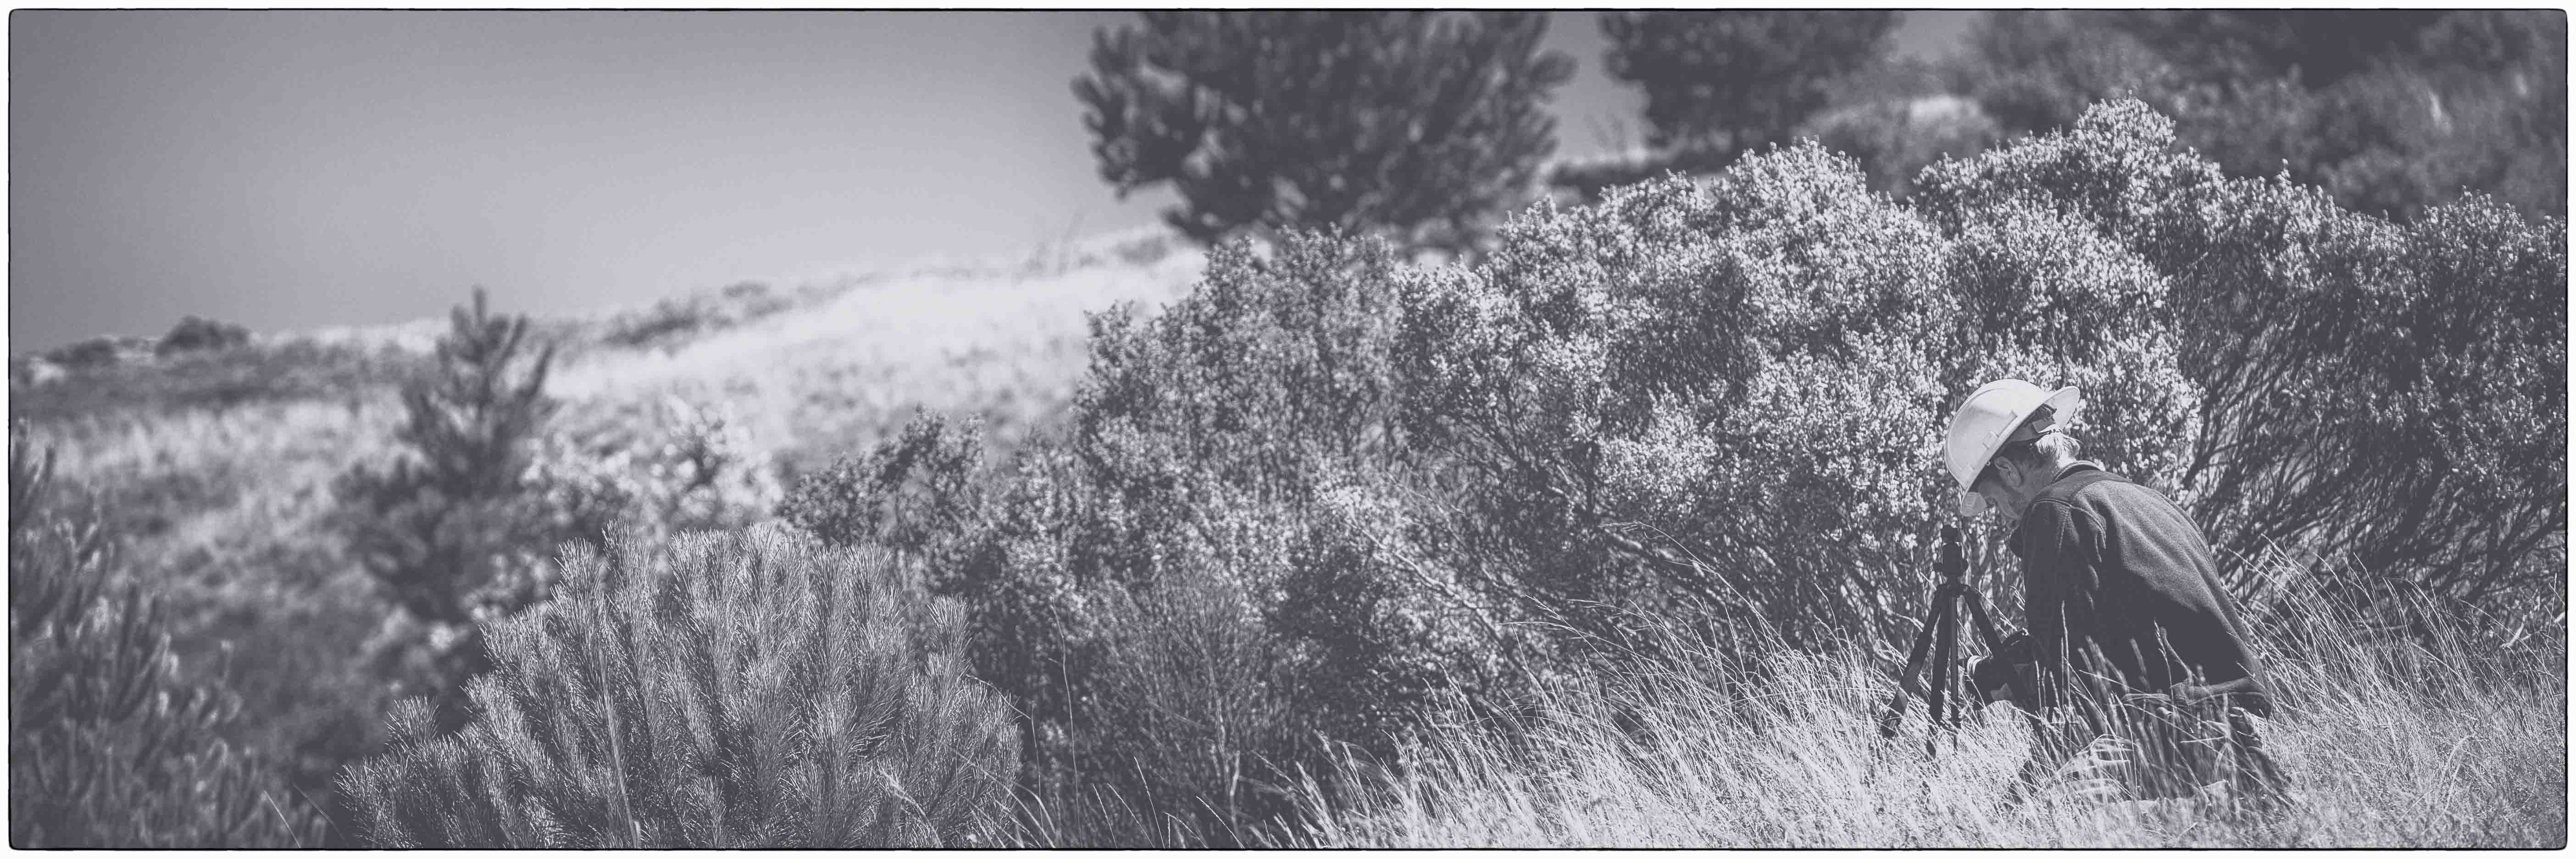
Stefan taking in the scrub and grassland interface.
We completed our 8 hour intensive conservation photography workshop hosted by the California Native Grasslands Association and I’m very happy to report that it was an absolutely wonderful day spent with inspired and interesting people (who love photography too!). Here are a few pics from the day and even one or two items about post processing that we went over. Thanks to everyone for such a great day.We started the day in the lab where we did some intros, had some nice Arizmendi treats and went over basic photography skills that will be critical to the day. Certainly there were many years of experience in the classroom and we tried our best not to overly bore advanced photogs with basics while not dusting the newbies. I think we did alright, but it’s always a tricky balance. As an add-on, I included a link to the Craft and Vision 10 ebook which is truly wonderful. I contacted David DuChemin about using this for the conservation workshop and he was kind and generous. (Yes, I know it’s a free download, but still he was/is generous). Next time I’ll ask people who know basics to just re-read and enjoy that during times they’re feeling less inspired by basic instruction.
Next, we headed outside to Miller-Knox Regional Park with 4 topics/skills in mind:
- landscape photography
- macro photography
- monitoring landscapes with photography
- 7 photos critical to identifying a grass (it is a CNGA workshop after all)
Yes, it is mid summer and probably close to the brownest it’ll be out there – but isn’t that exactly the point – how do you take photographs in suboptimal conditions. How do you find inspiration and what technical skills do you need to realize those views as images.
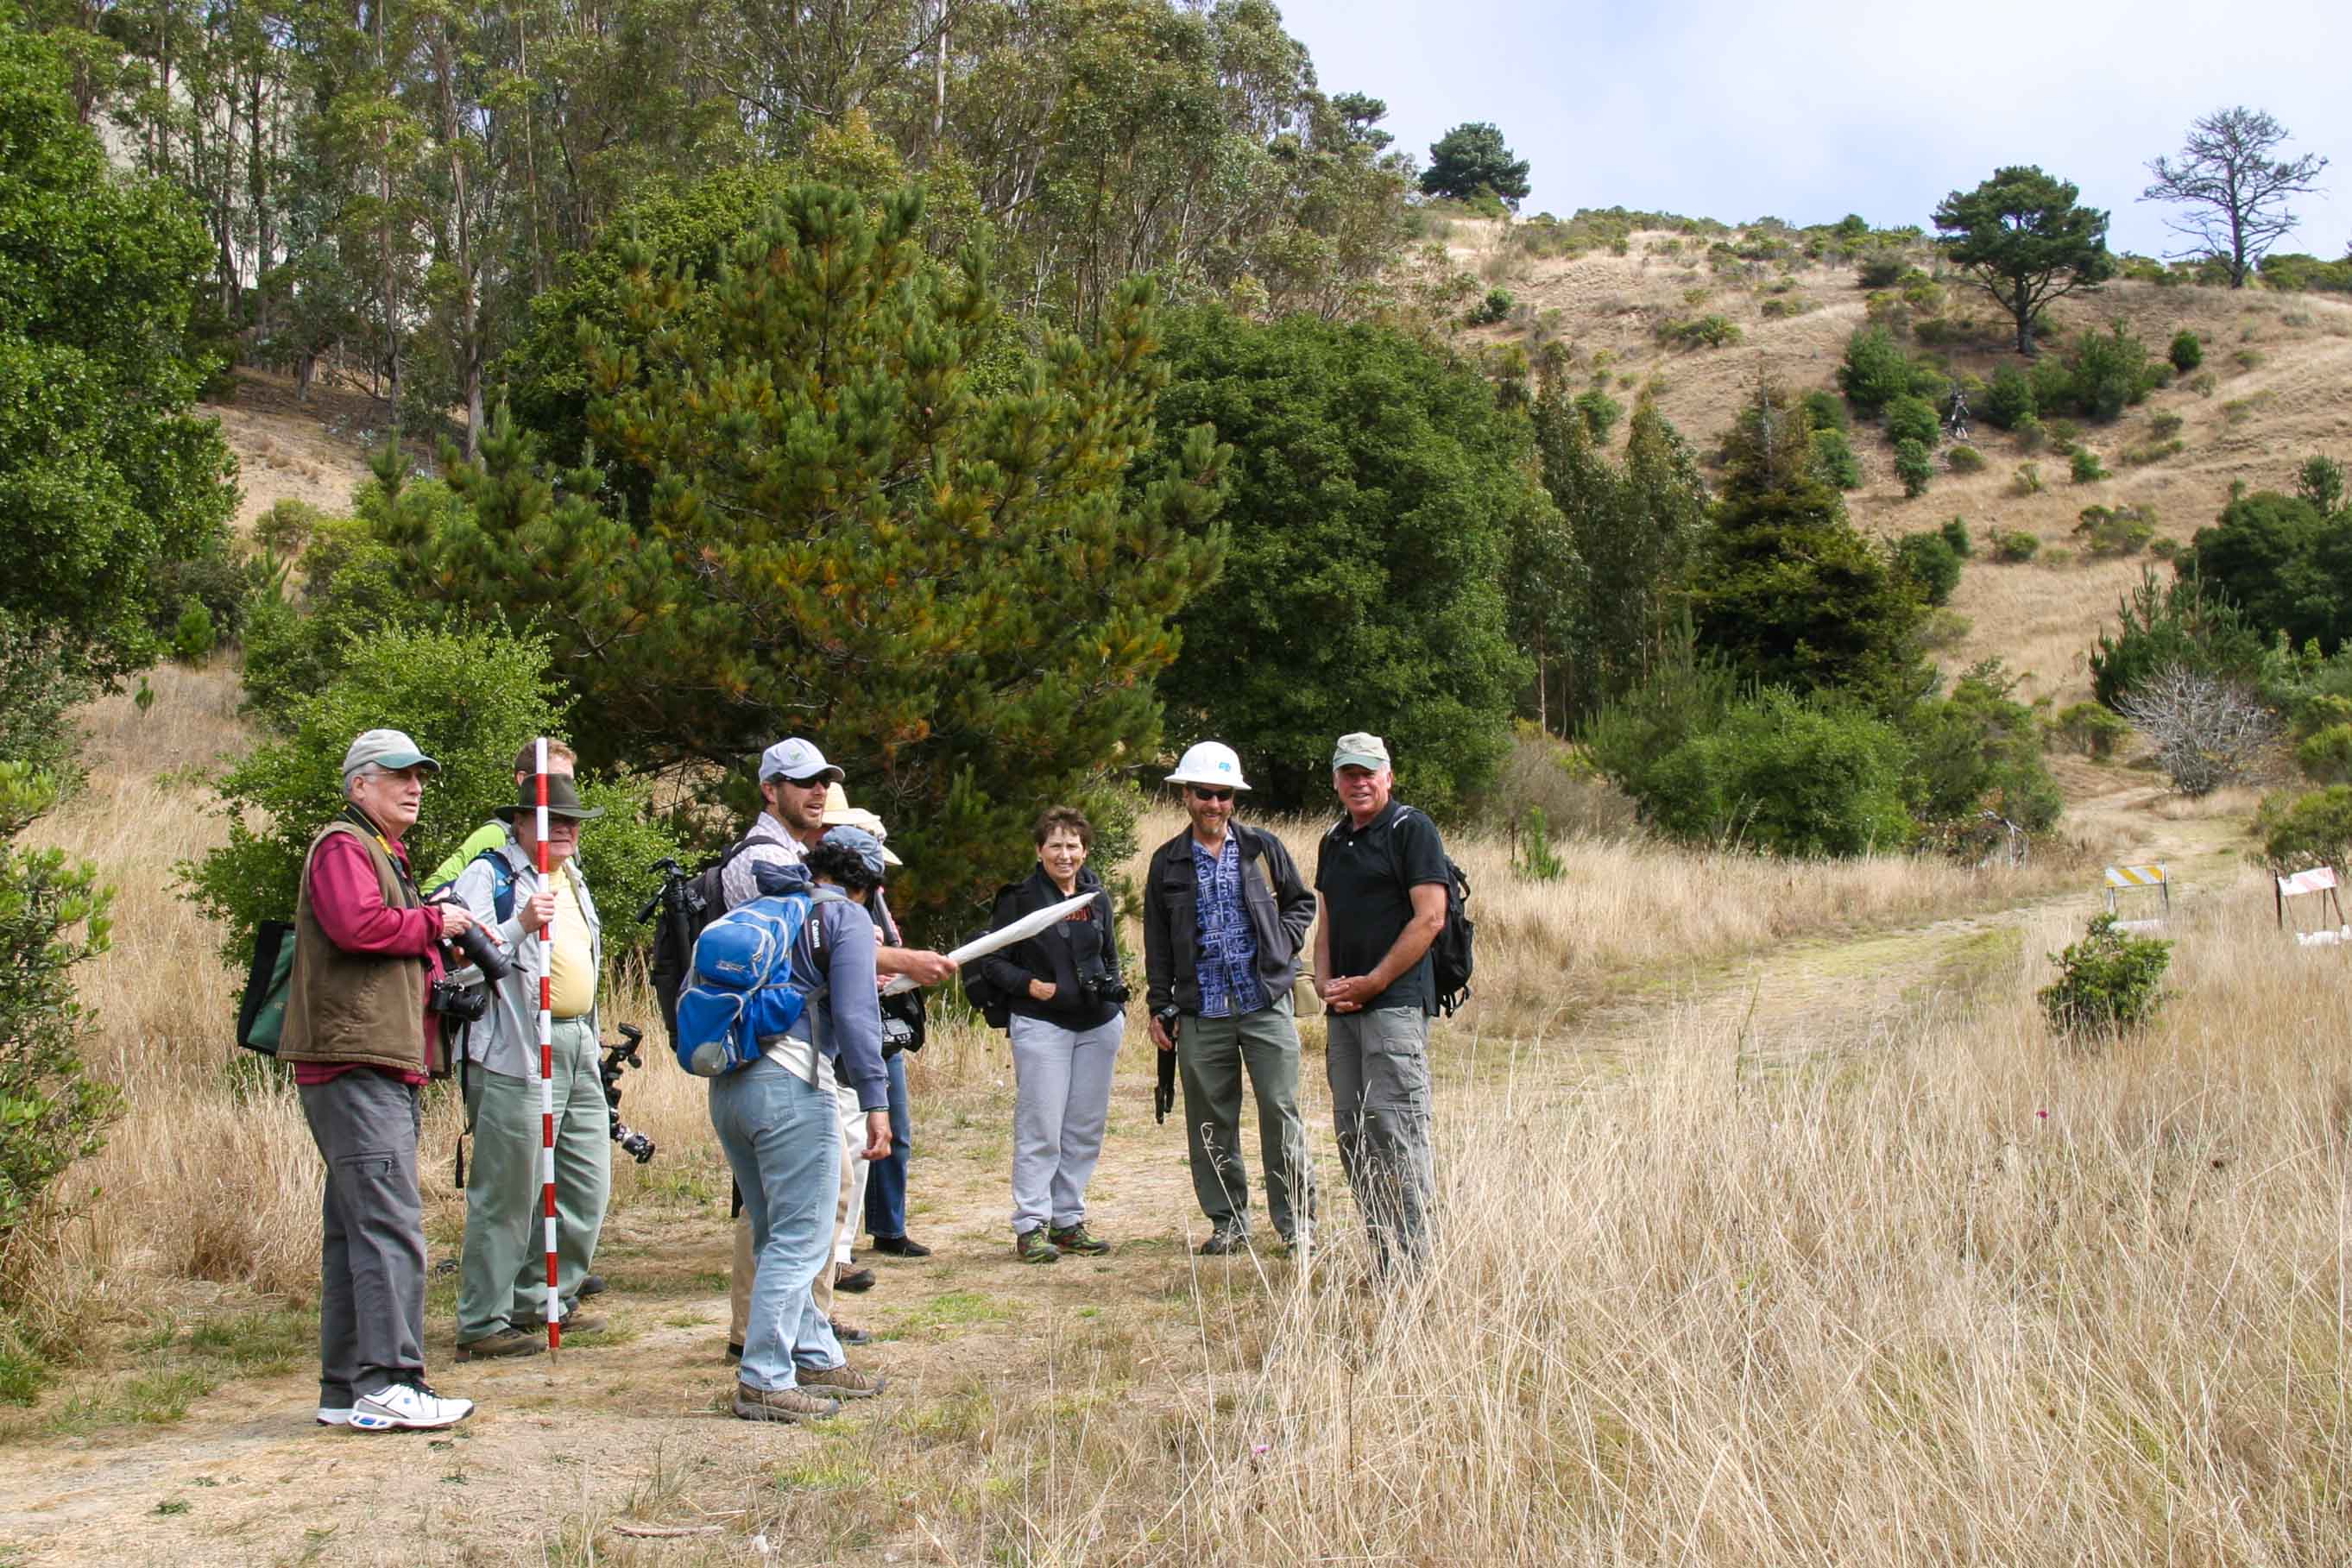
Here’s yours truly with that shoot-thru umbrella in the park and a portion of the class. We were talking grasslands, composition and just getting enraptured in the place you’re at. photo credit: John Wick
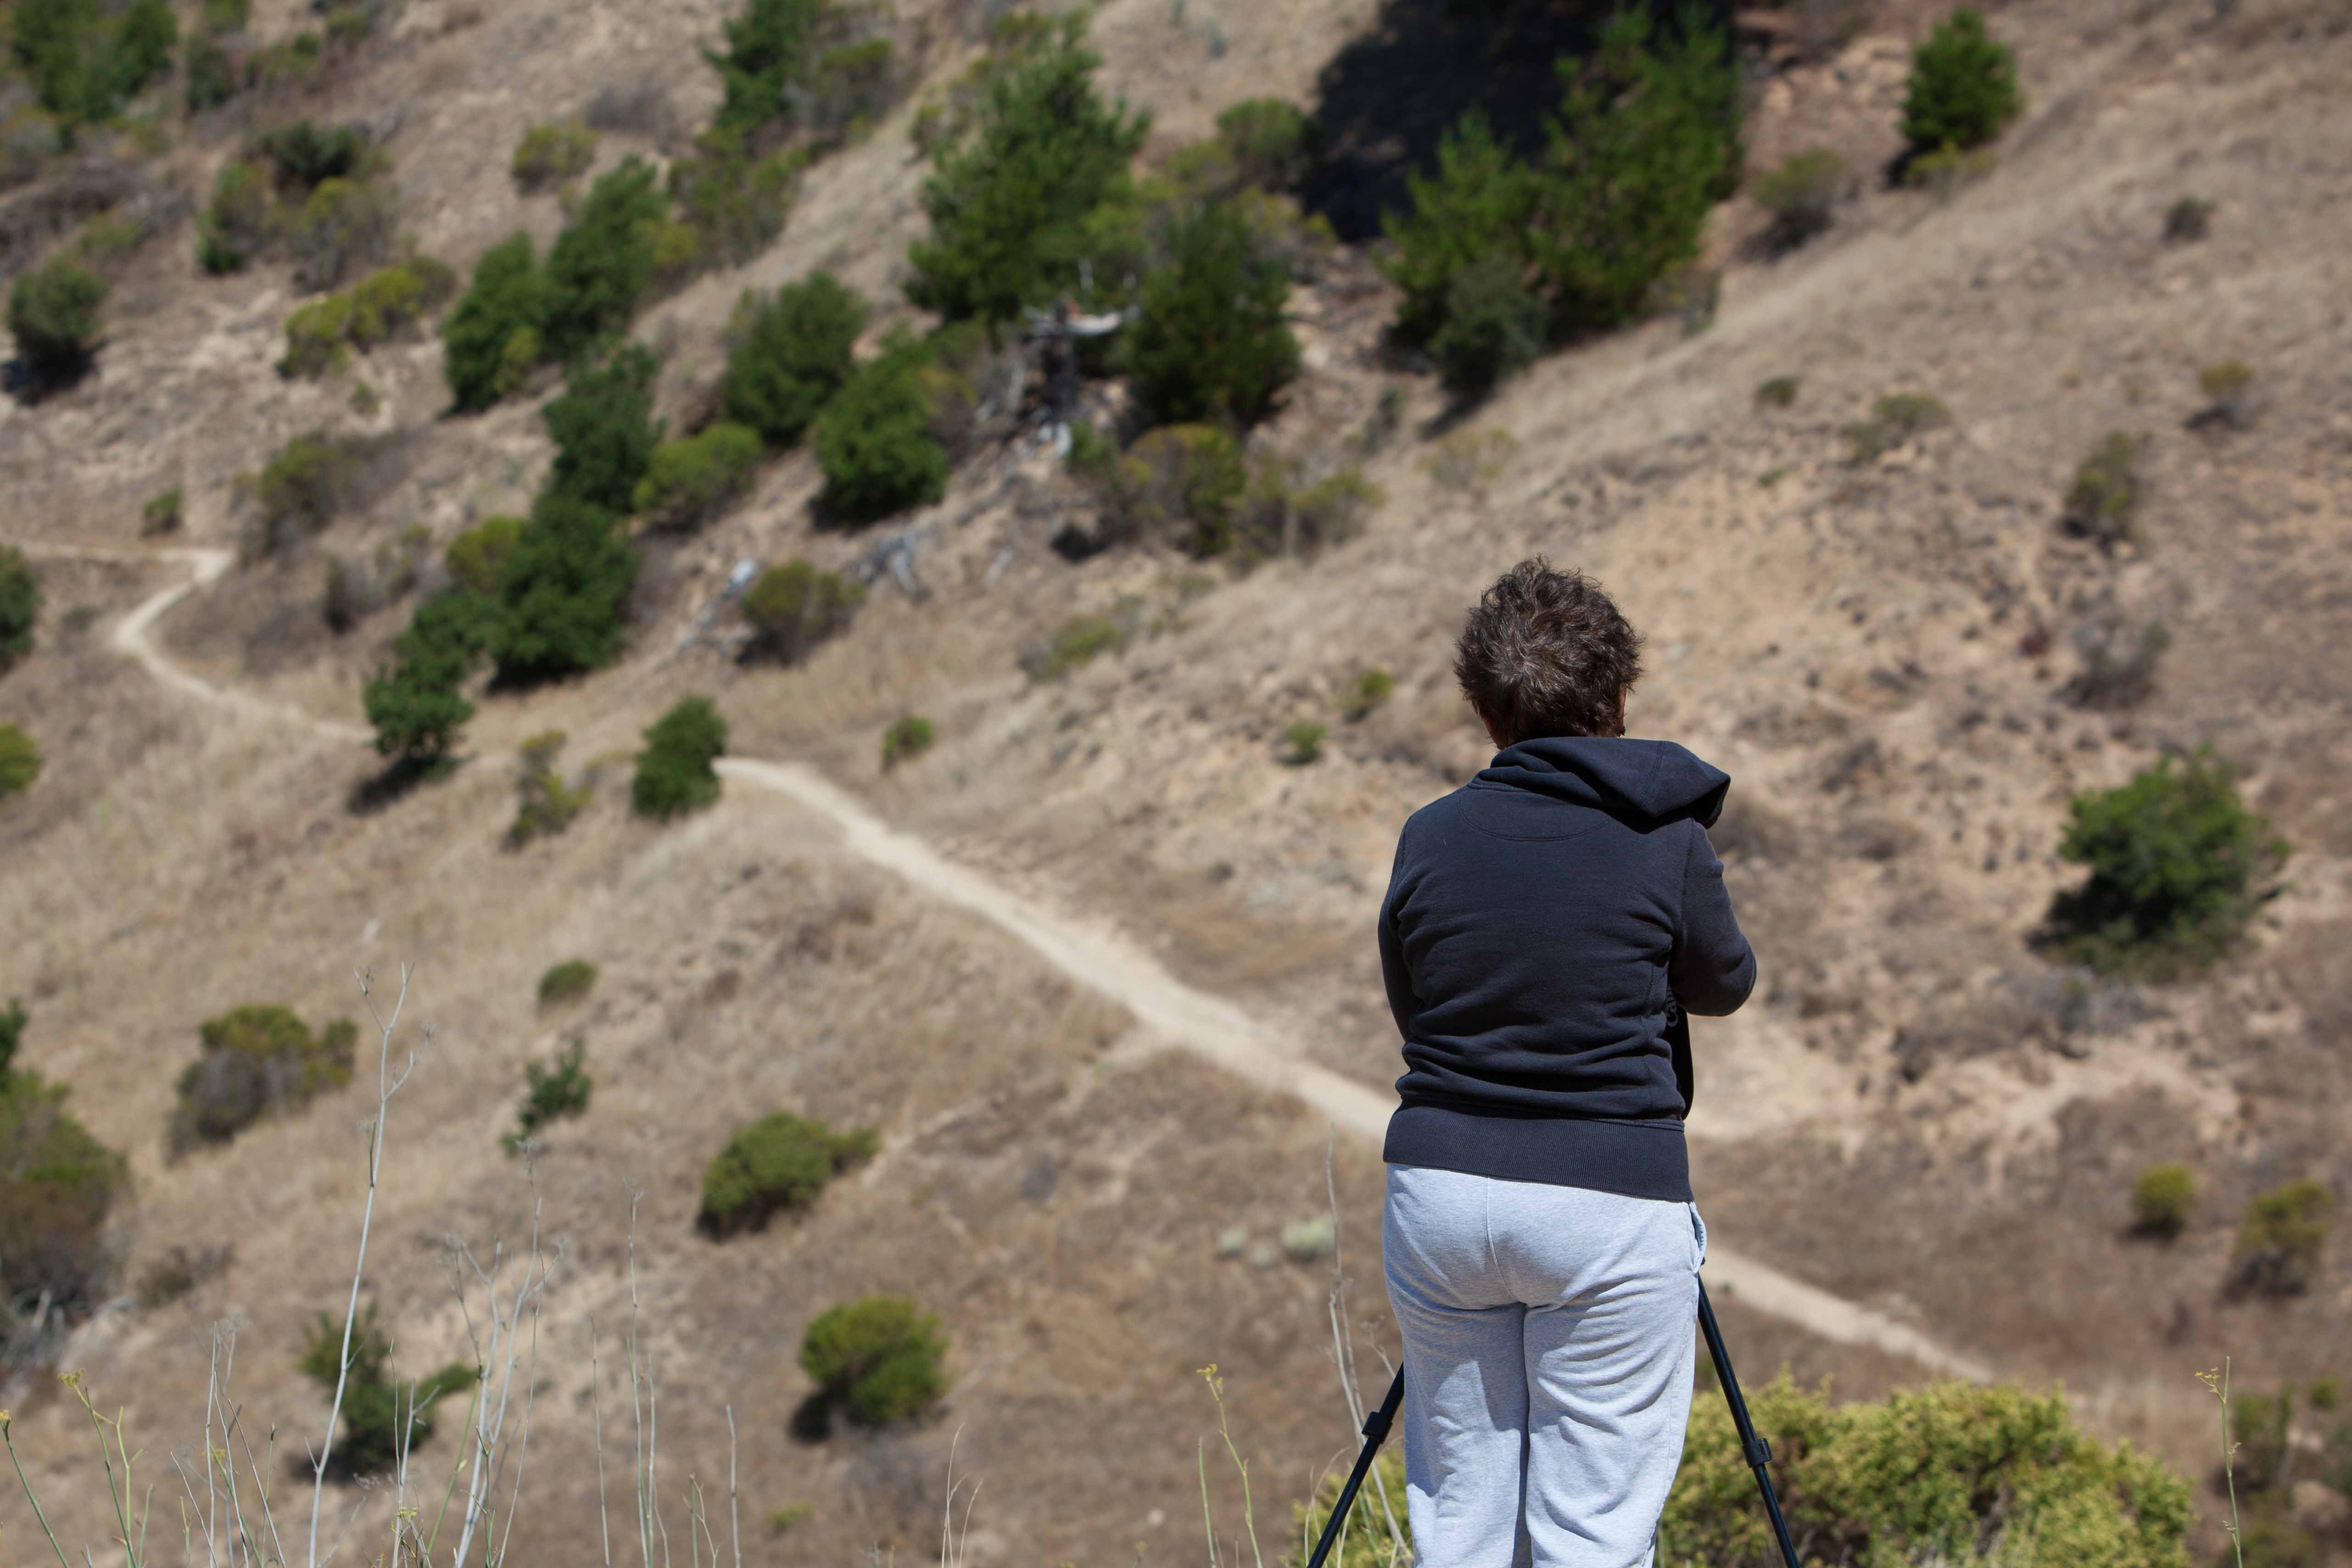
Marcia setting up to capture the trail as a leading line along with the scrub (and pine) encroachment in the native coastal grassland.

Sonia capturing this macro with some diffused light and a tripod.

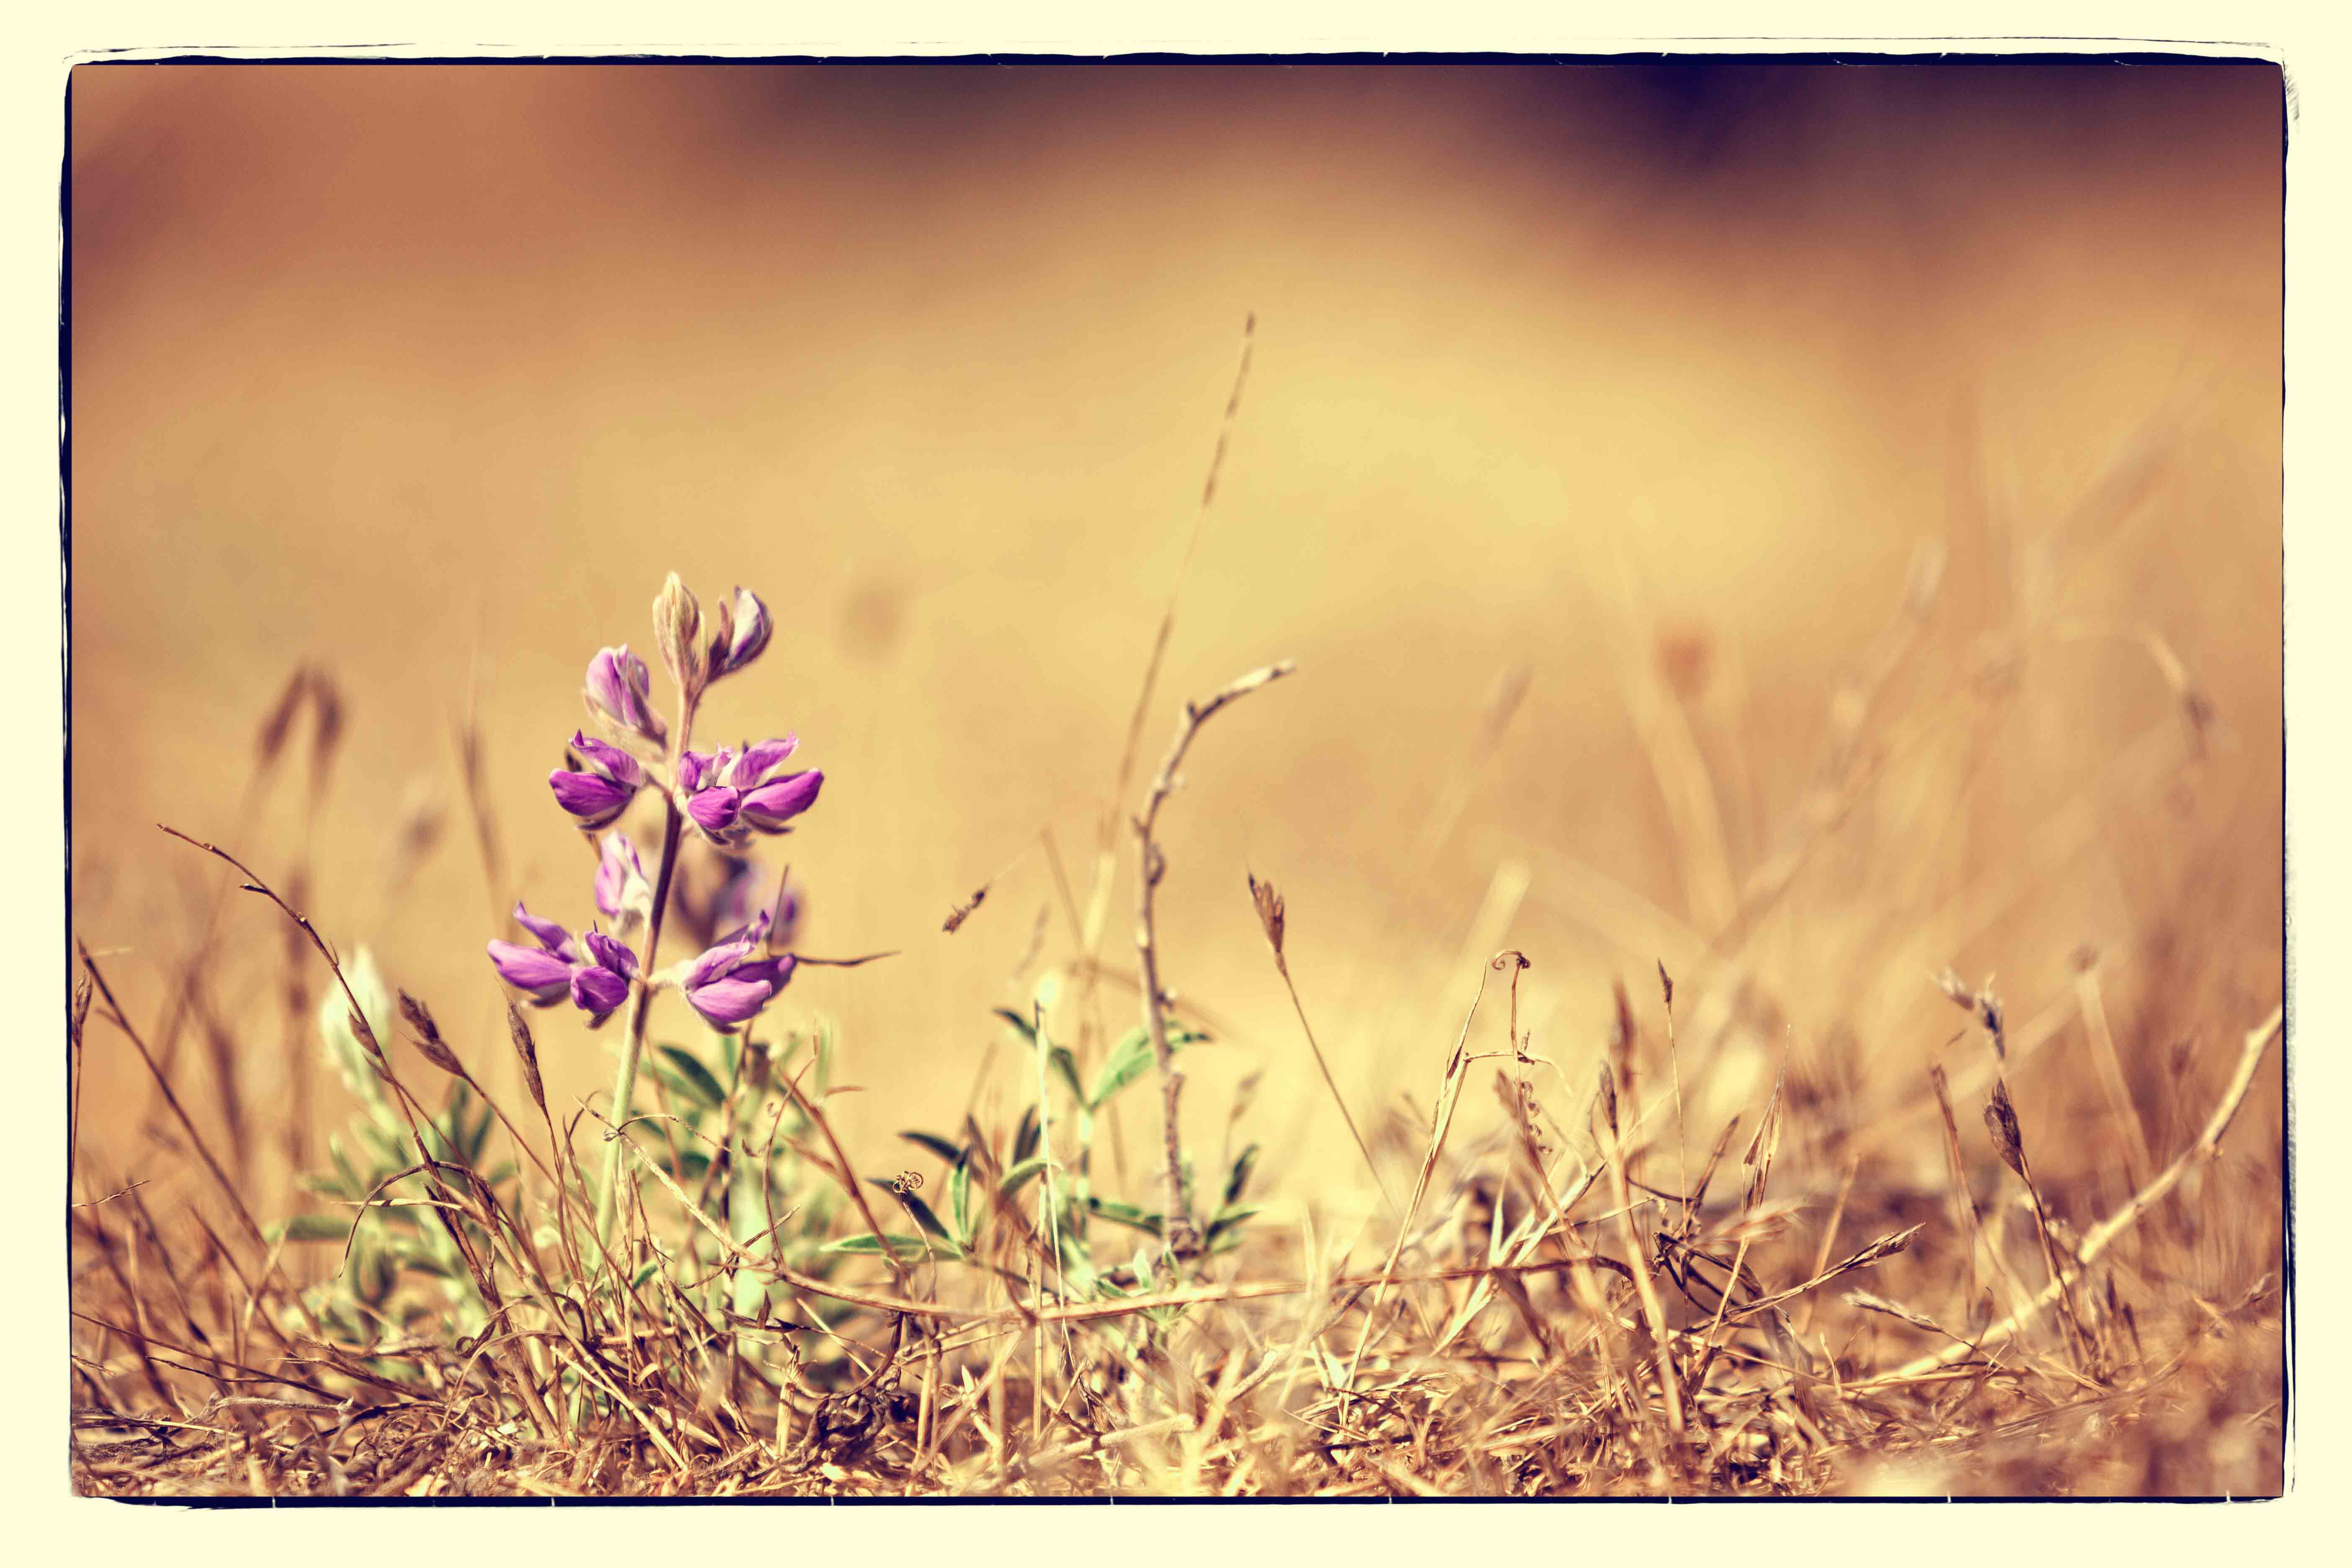
Jim Coleman photographing me while I was getting low to get the lupine photograph above. The lupine was photographed with a telephoto – but notably, not a macro lens. photo credit: John Wick
After about 4 hours of outdoor instruction, we headed back to the lab to download, organize and post-process the images using Abode Lightroom 5. We were especially focused on managing groups of photos and some basic processing to enhance RAW files for print and web use. Here’s a sample image from Miller Knox that was especially useful for post-processing – vivid colors, distortion correction, and cropping (note the cropping cannot be viewed in the split screen for some reason) for content were keys here. I’m attaching the before and after screen grabs and the history of the editing as recorded by Lightroom (click to enlarge any photo).

 So first I went for a tighter crop that emphasized a zigzag of the roofline with the coastal prairie. I actually like the powerline and what it add so I kept it. Next, correcting the building distortion was key. I end up manually correcting these using the horizontals and verticals of the lines I care about most. I also tend to crop out whatever distortion the post-processing cannot handle.
Next I wanted to see how I could highlight the yellow building wall and the blue sky. I also wanted to boost the highlights in the clouds so that the whites were bright and would draw the eye. I ended up adding some fill light (which reduces overall contrast) since I didn’t like the feeling that the shadows weren’t quite dark enough. Besides, I liked the numbers on the door and I wanted that to shine through. Finally, I stared for a bit and ended up boosting the blue sky just a touch more which also boosted the blue in the roof line.
Not bad for some Ramblin’ huh?
Here’s another macro wherein I thought the crop really helped bring out the detail of the individual flowers. I did add a bit of textured background to this one via photoshop (not covered in class).

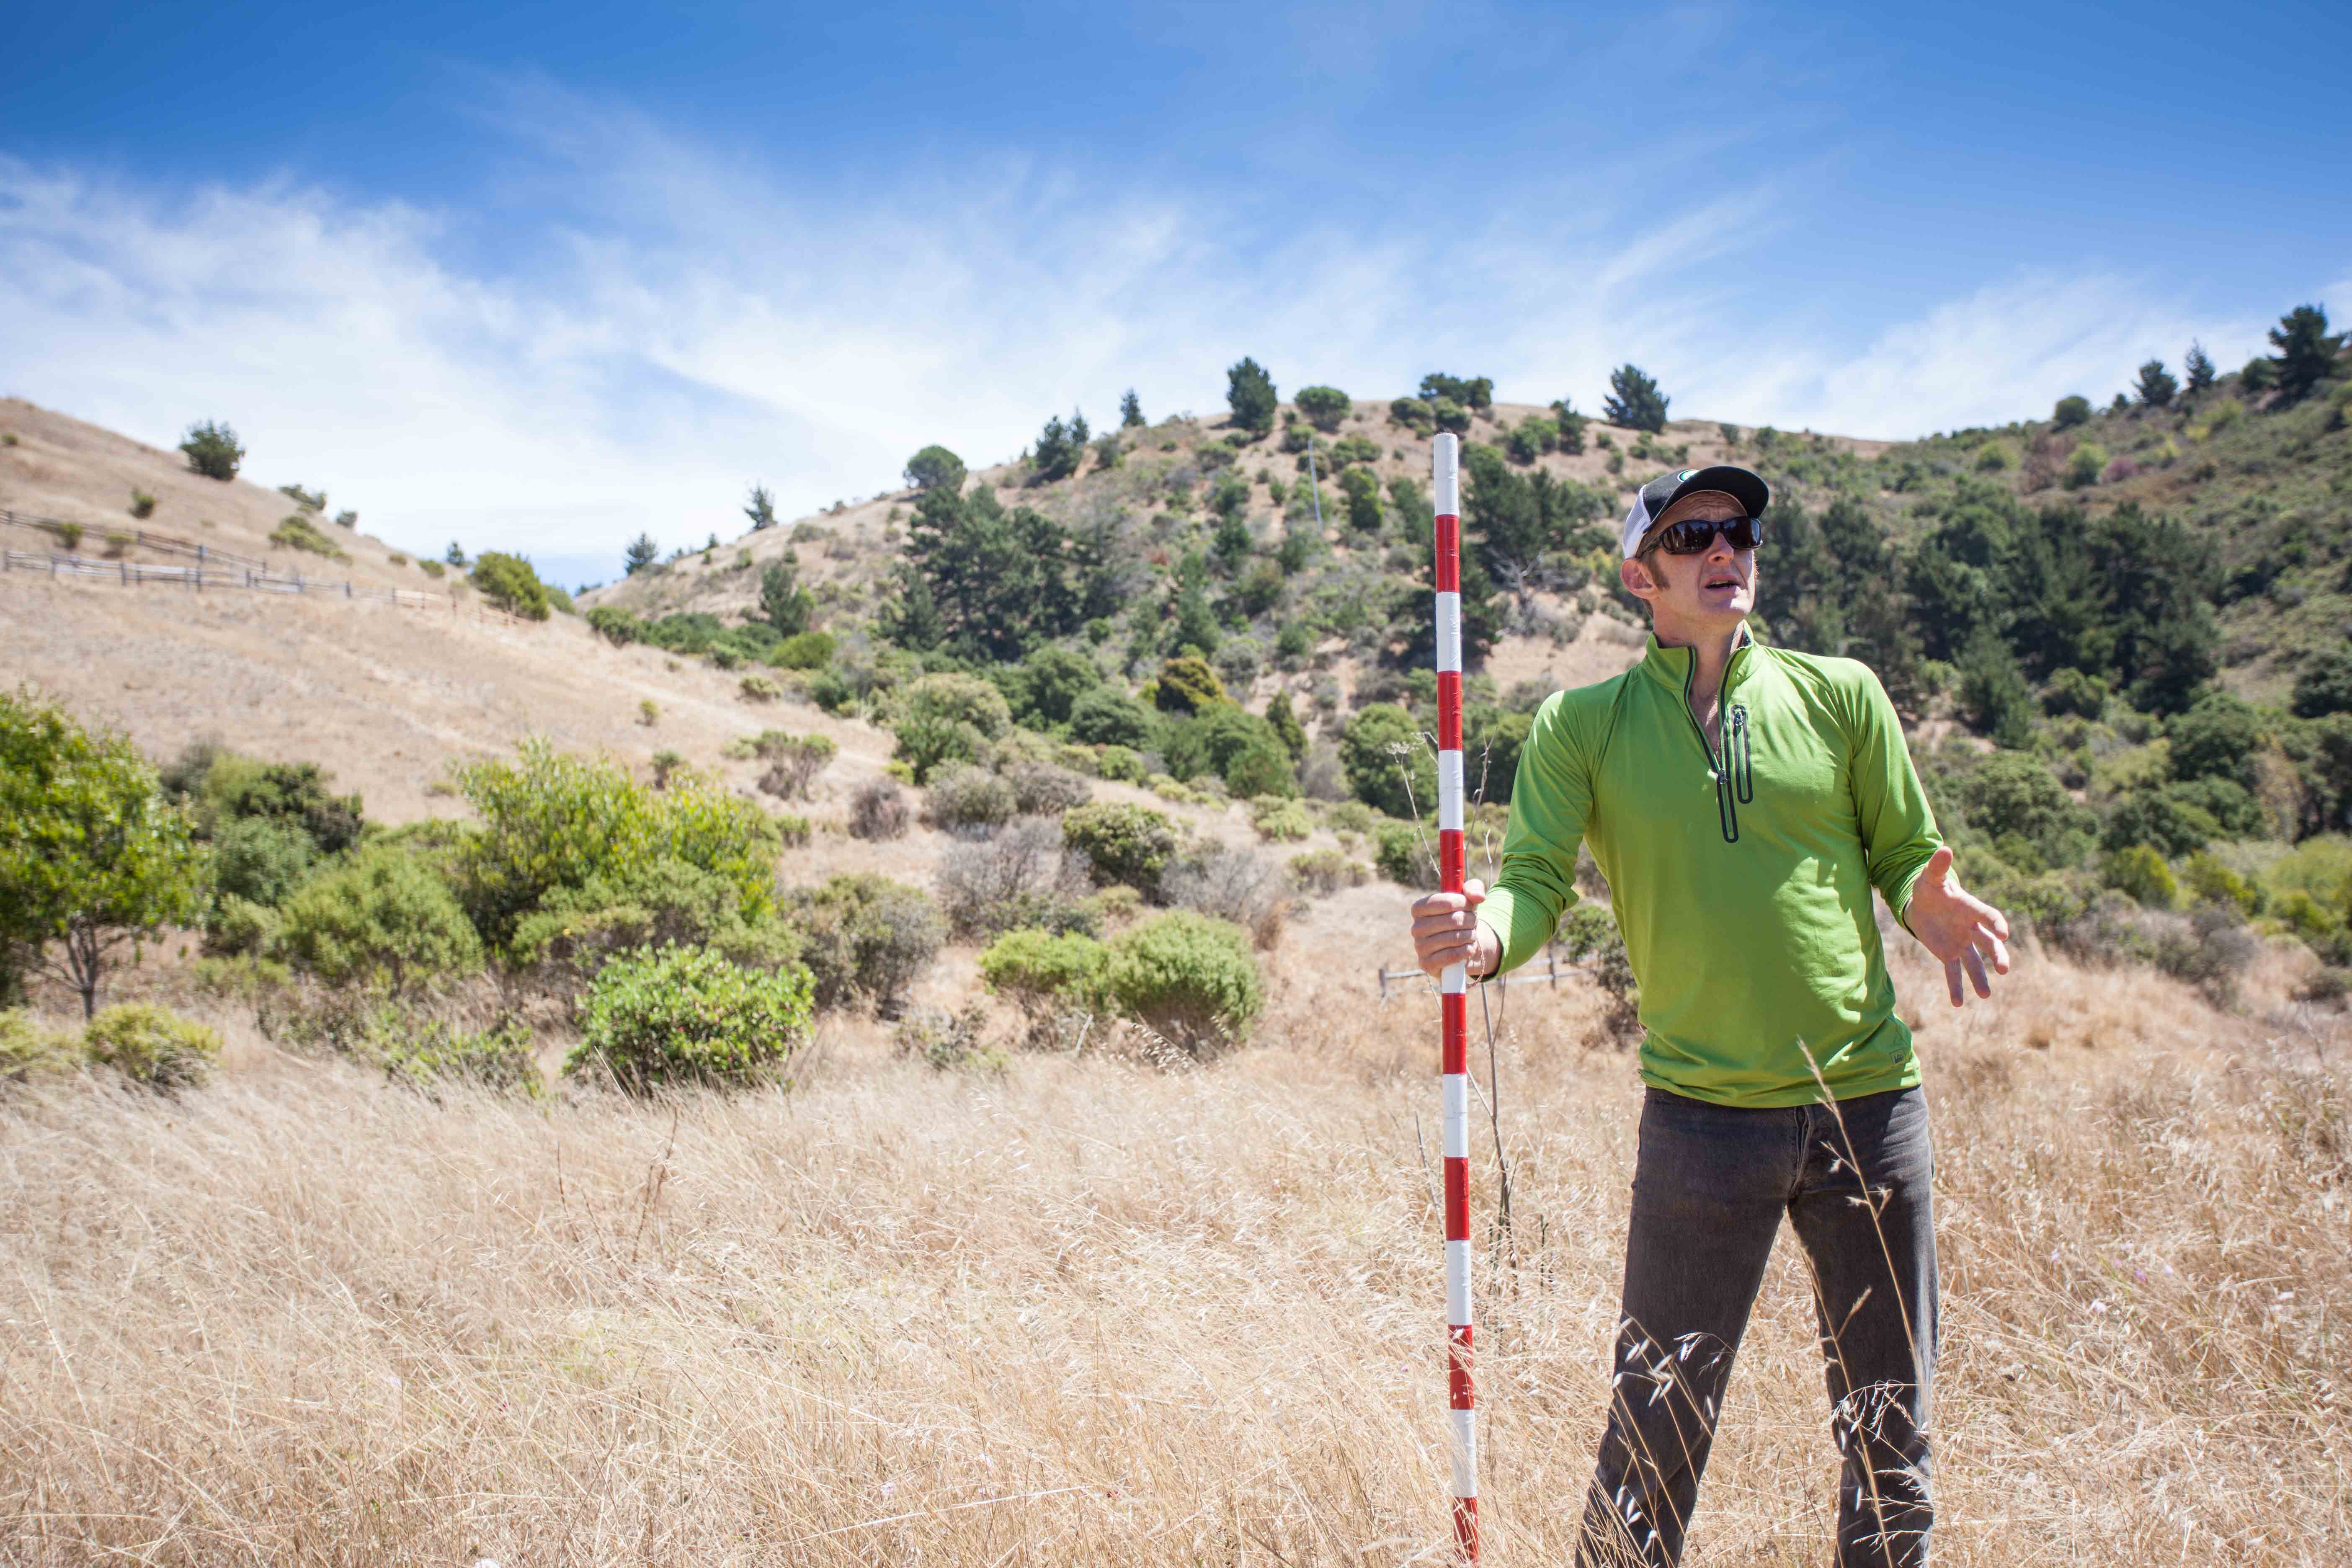
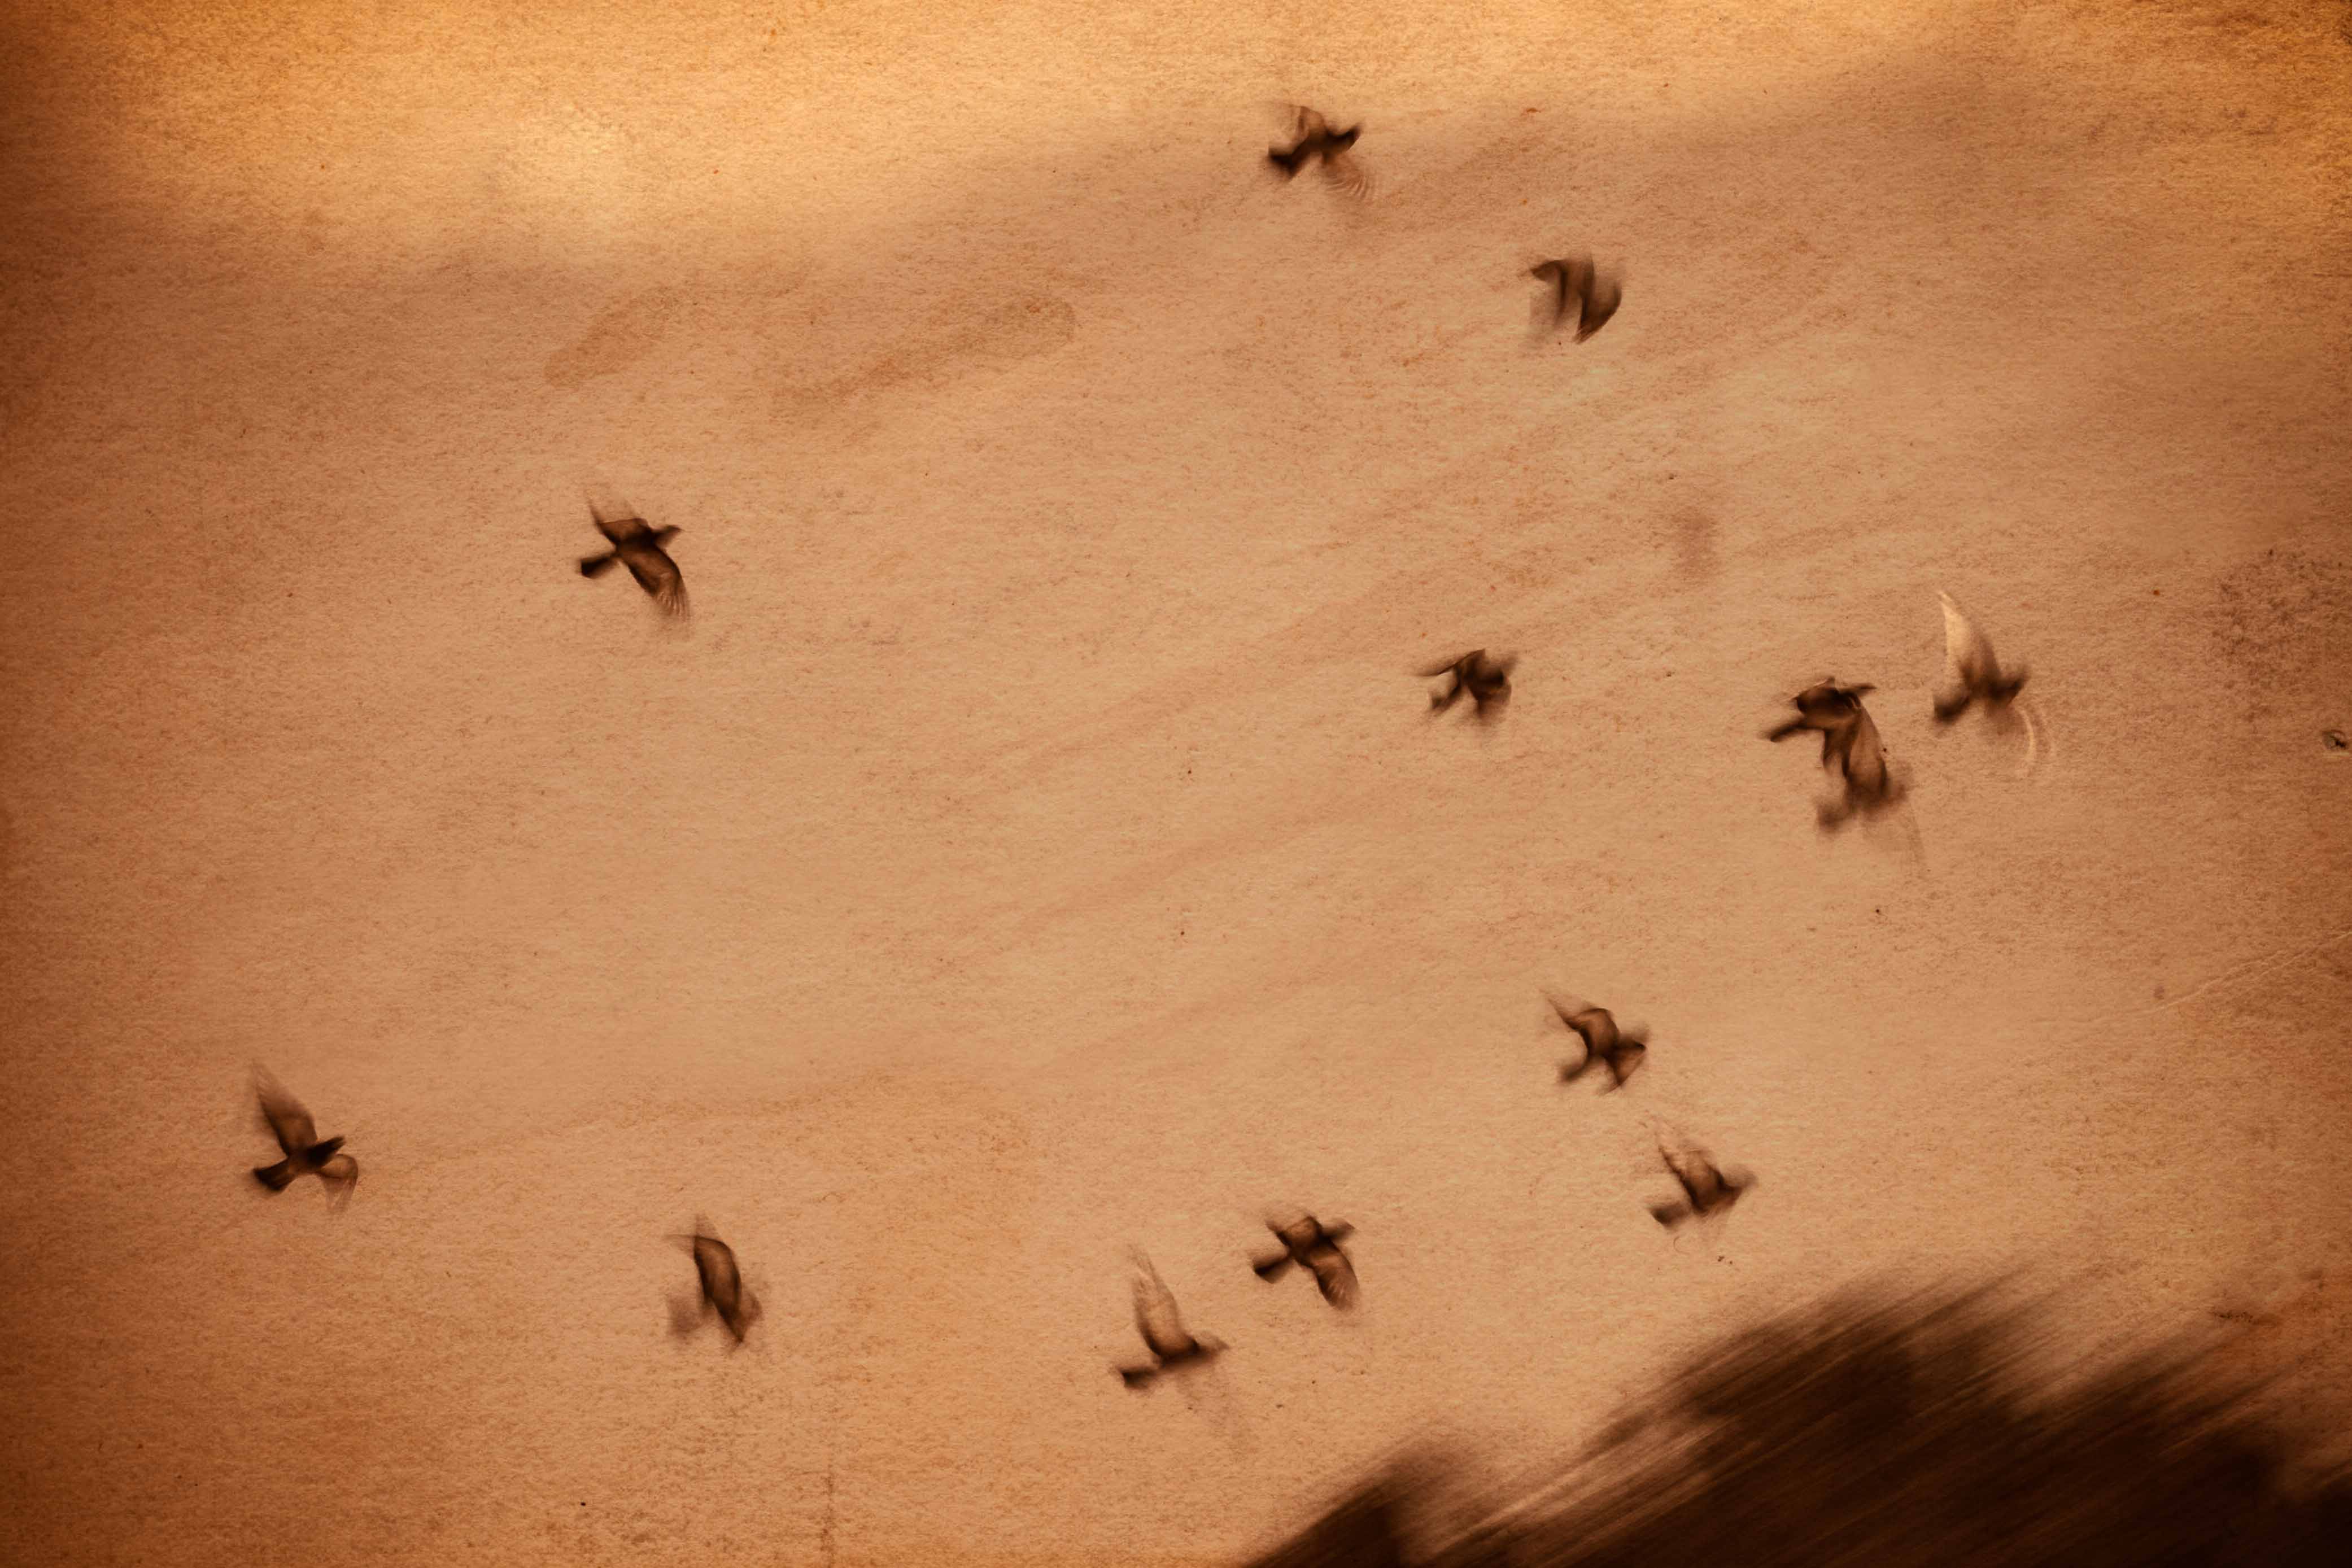
There was much more we covered and discussed: here are a two parting shots including my favorite of co-instructor Jim Coleman and his big red candy cane – and a flock of pigeons in motion near our lunch spot.
Sharing of images
I recommended using Flickr since it’s widely used and has an easy way to tag photos. Participant pics can be tagged with “CNGA2013photoworkshop” and then those photos can be easily located via search: http://www.flickr.com/search/?q=CNGA2013photoworkshop

Gorgeous images! I wish I had known about this workshop it’s practically in my neighborhood!
Thanks for sharing these stunning images along with a detailed description of your work processes. I was not able to participate in the workshop, but I benefit a lot from the information provided here. Keep up the good work!
Thanks Malcolm, Happy thanksgiving!!
Lech